10 Steps Pros Take to Install an Irrigation System in MN & WI
Irrigation installation is one of those projects where the design decisions you cannot see later determine whether the system works for twenty years or frustrates you for twenty years. These are the ten steps a professional installation should include.
1. A real person answers the phone
It starts here. You should be able to call, reach an actual person rather than an automated queue, and get your questions answered. How a company handles the first call predicts how it handles a service call in July.

2. An in-person site visit
No one can bid an irrigation system accurately without walking the property. The visit establishes lot size and shape, grade and slope, soil type, sun and shade patterns, where beds and future projects go, where the water source and point of connection are, and what the available pressure and flow actually are. That last pair determines how many heads can run per zone, which drives the entire design. A quote produced from satellite imagery alone is a guess.
3. A proposal within two business days
You should not wait weeks for a number. Get the proposal, review the design, sign the agreement, and get on the schedule.
4. The contractor handles the coordination
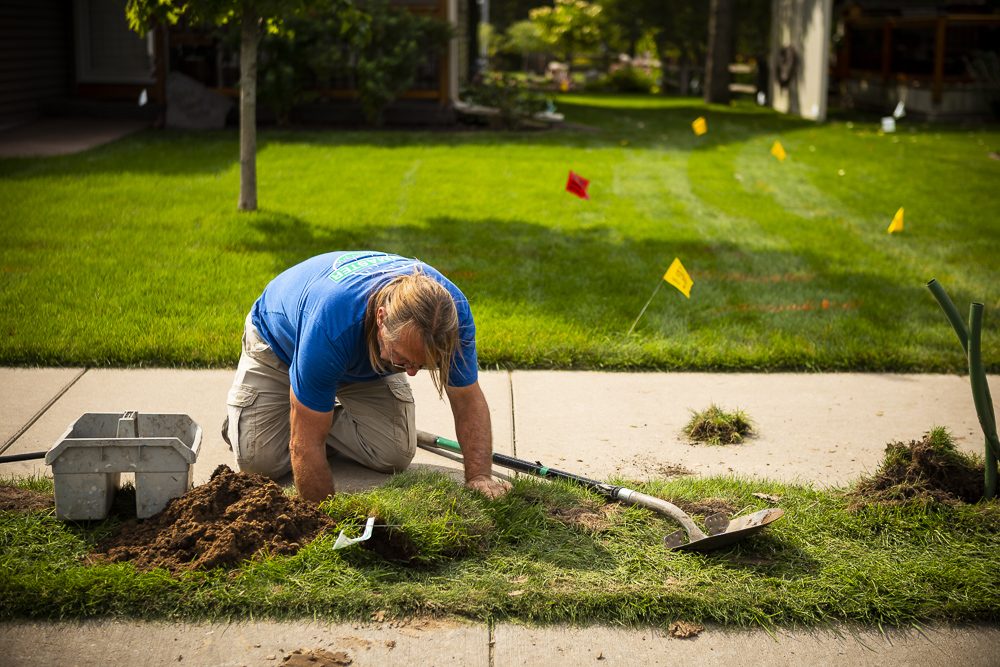
The installer should be scheduling the plumbing work, calling for utility locates, and coordinating with your landscaper if there is one. In Wisconsin that locate request goes to Diggers Hotline and in Minnesota to Gopher State One Call, both reachable at 811, and it is required before anyone digs. Every underground utility line gets marked before work starts. You should not be managing that sequence.
5. An efficient design, included in the price
This is the step that matters most and the one most often shortchanged. Make sure design is part of what you are buying, because not every company includes it.
A system has to be right the first time. Fixing a bad layout later is expensive and sometimes means starting over. The usual way a low bid gets low is by cutting the number of heads or the number of zones to save on materials and labor. The result is head spacing that leaves dry gaps between arcs, zones mixing sun and shade or lawn and beds, and run times that have to be stretched to cover the weakest spot. That wastes hundreds to thousands of gallons a year and gives you a lawn with chronic thin areas.
Good design means head-to-head coverage so arcs overlap, zones grouped by matched precipitation rate and similar water needs, separate zoning for beds and for slopes, and pressure calculations that keep each zone within the capacity of the supply. At RainMaster the team includes trained and certified irrigation designers, working toward maximum coverage with the least water.
6. Pipe pulled, not trenched
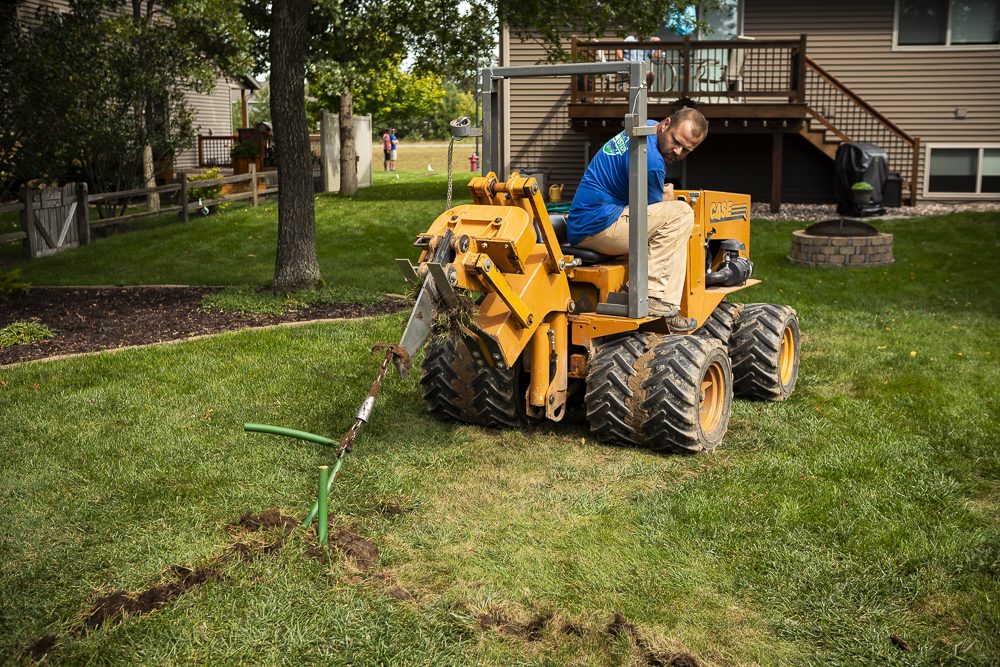
Reputable contractors pull pipe underground rather than trenching. A machine cuts a narrow slit in the turf and drags the pipe through beneath it, so your lawn recovers in weeks instead of carrying trench scars for a season.
Every head we install connects to flexible tubing rather than rigid fittings. That matters later. If you add a patio, a driveway, or a fire pit and a head has to move six inches, flexible tubing makes it a small job. It also absorbs the impact when a head gets driven over, which is the kind of thing that happens to everyone eventually.
7. Extra wires
Each zone needs one wire. If the system needs seven, we install ten. The spare wires cost almost nothing now and solve a real problem later: adding a zone for a garden, or replacing a wire damaged during a landscaping project, without trenching across finished landscaping to pull new wire.
8. An oversized controller
A controller sized exactly to the current zone count means replacing the controller the first time you add one. We install a controller with capacity for at least one additional zone. Same principle as the wires: plan for the property you will have, not just the one you have today.
9. Clean-up and repair
Pros clean up when they are done and reseed any areas disturbed during installation. Many companies skip the reseeding because it costs them money. Ask specifically whether it is included.
10. Follow-up inspection
After installation you should get a walkthrough with the system running, zone by zone, so you see the coverage and learn the controller. When you hire RainMaster you receive a free inspection where technicians check for leaks, pressure issues, and proper coverage. That visit is also when you should get straight answers about seasonal settings and what maintenance the system needs.
What it costs you to get this wrong
Two items are worth planning for in this climate specifically. First, backflow prevention is required to protect the drinking water supply, and the correct device needs to be installed and tested. Second, winterization is not optional here. Lines have to be blown out with compressed air each fall, because water left in a lateral or a backflow device freezes and splits it. Build both into your thinking about annual ownership, along with spring start-up.
Design, installation quality, and maintenance are a single chain. A well-designed system installed carelessly leaks, and a well-installed system left unmaintained drifts out of alignment within a few seasons. See irrigation installation and maintenance for how we handle both ends, and request a quote to get the site visit scheduled.
Bottom line
- Insist on an in-person site visit; pressure and flow at your water source determine the whole design.
- Design should be included in the installation price. Low bids are usually low because heads or zones were cut.
- Utility locates through Diggers Hotline in Wisconsin or Gopher State One Call in Minnesota, both at 811, happen before any digging.
- Pipe pulling instead of trenching and flexible tubing at each head make future changes and repairs far cheaper.
- Spare wires and an oversized controller cost little now and save a full replacement when you add a zone.
Frequently asked questions
How long does it take to install a sprinkler system?
Most residential installations are completed in one to a few days on site, depending on lot size, zone count, and the plumbing connection. The longer part of the timeline is usually scheduling: the site visit, the proposal, utility locates, and the plumbing coordination.
Will installing irrigation tear up my lawn?
Not much, when the contractor pulls pipe instead of trenching. A narrow slit is cut and the pipe is dragged underneath, so the turf knits back together in a few weeks. Any areas genuinely disturbed should be reseeded as part of the job.
Do I need a permit or a backflow preventer?
Backflow prevention is required to keep irrigation water from entering the drinking water supply, and permit requirements vary by municipality. A licensed contractor handles the permit and installs and tests the correct device as part of the installation.
What does an irrigation system need every year in Wisconsin and Minnesota?
A spring start-up that pressurizes and checks every zone, at least one in-season check, and a fall blowout with compressed air. Winterization is not optional in this climate; water left in the lines freezes and splits pipe, heads, and backflow devices.
Irrigation Association, Irrigation industry standards and certification.
U.S. Environmental Protection Agency, WaterSense Landscaping Tips.